| Most viewed - Zelda FaNaTiKaH |
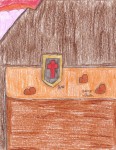
LoZ1--Shield.jpgLoZ1 Shield560 viewsThe shield of Zelda 1. The magical shield is just a larger shield.
Manual official artwork was the reference in drawing this.DBoyWheeler
|
|

Random_Red_by_Red_Fan.swfRandom Red557 viewsThe first flash I made with a trial I had.Red_Fan
|
|
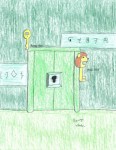
LoZ1--Keys.jpgLoZ1 Keys556 viewsThe regular Key and the Magical Key, from Zelda 1.
Manual's official artwork was the reference for this.DBoyWheeler
|
|
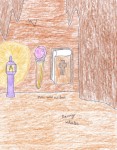
LoZ1--Magic_Wand_and_Book.jpgLoZ1 Magic Wand and Magic Book556 viewsThe wand of Wizzrobe and the Magic Book from Zelda 1.
I used the manual art as reference.DBoyWheeler
|
|
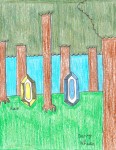
LoZ1--Rubies.jpgLoZ1 Rubies555 viewsBefore we Westerners called them Rupees, we knew them as Rubies in Zelda 1.
I used the manual's art as a reference.DBoyWheeler
|
|
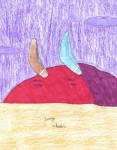
LoZ1--Wooden_and_Magical_Boomerangs.jpgLoZ1 Boomerangs555 viewsThe Wooden and Magical Boomerangs from Zelda 1.
I used the official manual art as reference.DBoyWheeler
|
|
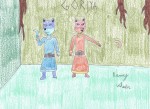
LoZ1--Goriya.jpgLoZ1--Goriya554 viewsThe boomerang-throwing weasels of DOOM! (from Zelda 1, of course).
I used the manual art as a reference, and drew two Goriyas since there were two colors for them.DBoyWheeler
|
|
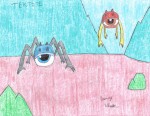
LoZ1--Tektites.jpgLoZ1 Tektites553 viewsThe two colors of Tektites from Zelda 1.
The manual art was used as reference. I also drew two Tektites, since Tektites come in two color variations.DBoyWheeler
|
|
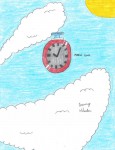
LoZ1--Magical_Clock.jpgLoZ1 Magical Clock552 viewsThe magical stopwatch of Zelda 1.
I used the artwork from the manual as a reference.DBoyWheeler
|
|
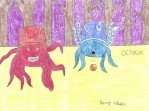
LoZ1--Octoroks.jpgLoZ1 Octoroks552 viewsThe two kinds of Octoroks from Zelda 1.
I used the manual art as reference, and drew two since the game had two colors for Octorok.DBoyWheeler
|
|
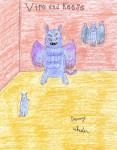
LoZ1--Vire_and_Keese.jpgLoZ1 Vire and Keese552 viewsVire and two Keeses from Zelda 1.
I used the manual art as reference.DBoyWheeler
|
|
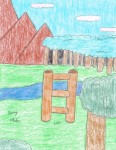
LoZ1--Ladder.jpgLoZ1 Ladder551 viewsThe Ladder from Zelda 1.
The manual artwork was the reference for drawing this.DBoyWheeler
|
|
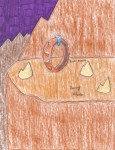
LoZ1--Power_Bracelet.jpgLoZ1 Power Bracelet550 viewsThe strength-enhancing Power Bracelet from Zelda 1.
The artwork from the manual was the reference in drawing this.DBoyWheeler
|
|
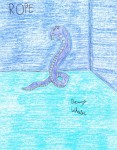
LoZ1--Rope.jpgLoZ1 Rope547 viewsThe poisonous snake Rope (as he appeared in the manual--I used the manual art as reference) in Zelda 1 (I know in the game, he looks like a cobra, but I drew how he appeared in the manual art).DBoyWheeler
|
|
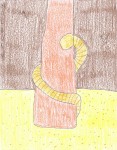
LoZ1--Moldorm.jpgLoZ1 Moldorm546 viewsThe giant earthworm from Zelda 1.
I tried to draw it as it appeared in the manual art of Zelda 1 (as opposed to how hit appeared in game), and had it climb a cave column.DBoyWheeler
|
|
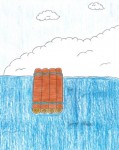
LoZ1--Raft.jpgLoZ1 Raft545 viewsThe raft in Zelda 1.
The artwork from the manual was the reference for this. And I know the sky doesn't look blue--scanner ate up the detail.DBoyWheeler
|
|
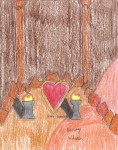
LoZ1--Heart_Container.jpgLoZ1 Heart Container541 viewsThe heart container that increases Link's life in Zelda 1.
Manual official artwork was used as reference.DBoyWheeler
|
|
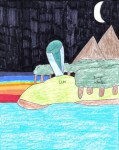
LoZ1--Letter.jpgLoZ1 Letter537 viewsThe letter Link gives to the old woman in Zelda 1 to get the Water of Life.
I used the artwork of the manual as a reference.DBoyWheeler
|
|
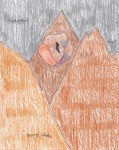
LoZ1--Rock.jpgLoZ1 Rock537 viewsThe darn falling boulders in Zelda 1. I used the manual art as a reference.DBoyWheeler
|
|
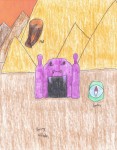
LoZ1--Map_and_Compass.jpgLoZ1 Map and Compass533 viewsThe map and compass that Link uses to guide his way in the Labyrinths (in Zelda 1).
I used the manual's official artwork as a reference.DBoyWheeler
|
|
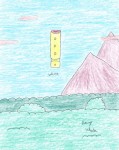
LoZ1--Whistle.jpgLoZ1 Whistle532 viewsThe magical Whistle from Zelda 1.
The manual art was my reference here. Oh, and most of you know by now that SMB3 borrowed the whistle (and the song, for that matter) for their Warp Zone Whistles. :DDBoyWheeler
|
|
|
|
|
| 453 files on 19 page(s) |
 |
|
|
|
|
|
|
|
|
|
|
|
19 |
|
 Register